
|
|||||||||||||||||||||||||||||||||||
|
|||||||||||||||||||||||||||||||||||
Searching...All photos are tagged with searchable keywords, and you can also search the descriptions...
|
Welcome to my photo art galleries and blogBe my guest...
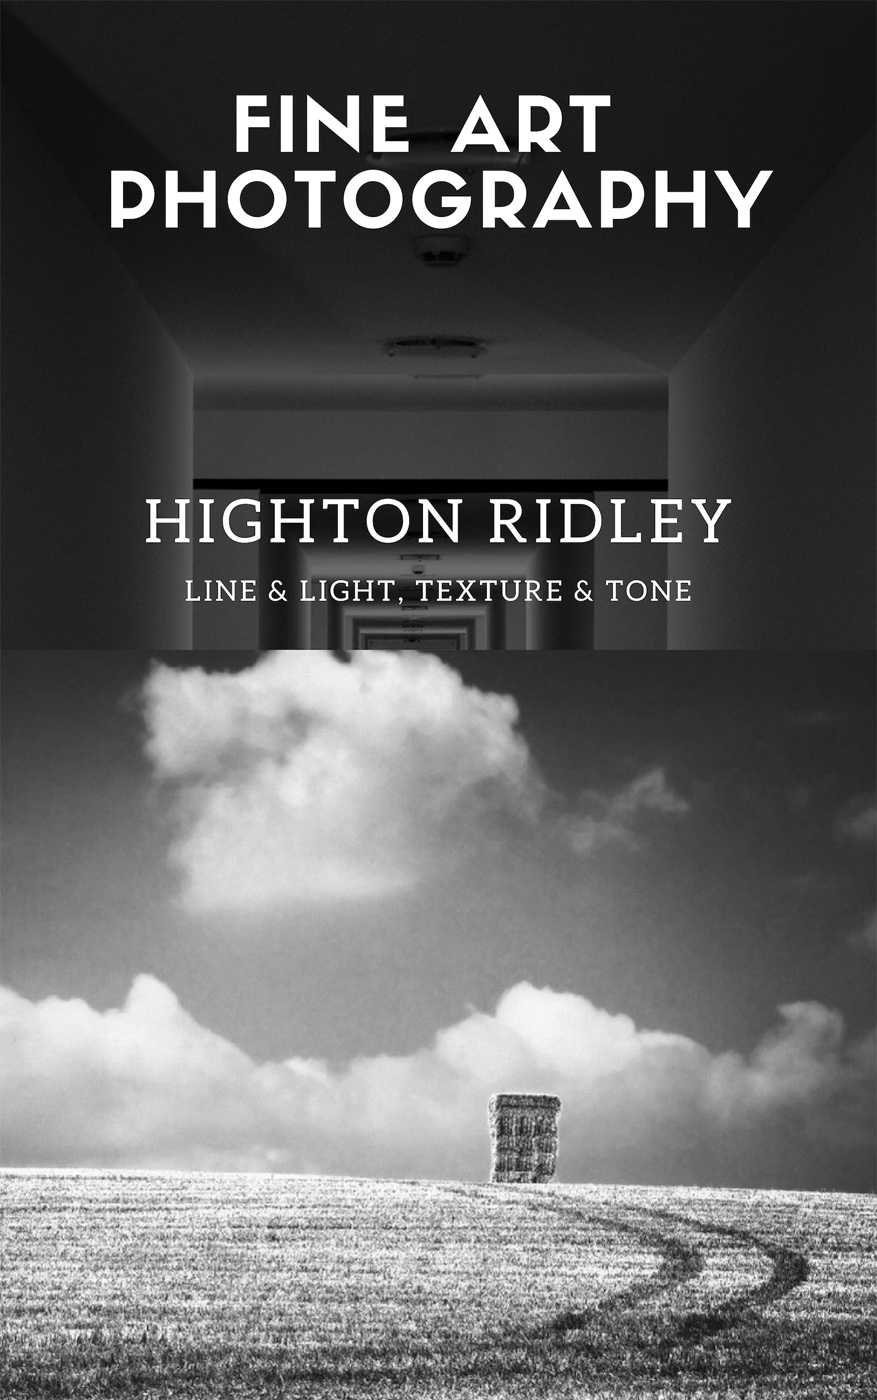
You can use the tabs above to navigate to the main areas of the site, or use the sitesearch (top right) as a way in. Enjoy my work, each image highlighting something special I've found that I want to share with you. Most are available on a range of quality products at Zazzle.com or Zazzle.co.uk - something for everyone! (links open in a new window) The New Consonance / Urban Ugly - best viewed at full screen HD/720p Urban Ugliness, Lost Spaces and Industrial Decay - best viewed at full screen HD/720p I'm driven by...Every artist has something that drives them on. For me, it's the interplay between:
I explore their interaction through my camera lens and in the digital darkroom, often using black and white and accentuated contrast as a revealer. Hopefully the final image is one you'll relate to. |
If you like my photography, you can get a free collectibles ebook of my best in the series "Light and line, texture and tone"
|
|||||||||||||||||||||||||||||||||
|
If
you can't see the 11 shades from black to white, you might not see my
work at its best :)
|
|||||||||||||||||||||||||||||||||||


 |
all
images
© copyright 1989 - 2016 Highton-Ridley.co.uk privacy policy |
 |